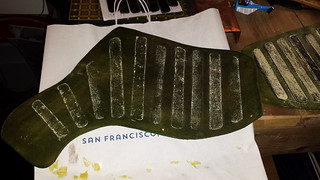
When we last left my leg armor, I was getting the splints together. After cutting them out on the Beverly shears, I handed them off to Master Jovian. He was kind enough to grind the edges smooth for me. Above you can see the now not-jagged splints ready to go.
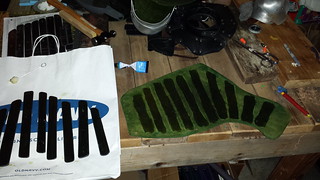
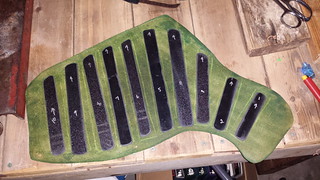
I hate getting rivet holes to line up and dealing with plastic and leather shifting about, so I have decided to eliminate the problem with copius amounts of contact cement. The contact cement probably wouldn't survive fighter practice, but it will hold things together long enough for me to drill and rivet with minimal fuss. Here is my sticky, gooey progress.
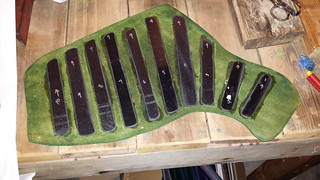
Once the contact cement cured, I placed all the splints in their proper position. This felt a bit like a surgical procedure, since one false move and the plate is stuck forever. Well, probably not forever, but there is no wiggle room with dropping the plates. Contact cement does it's job well and the one splint that I tried to re-position would not budge even the slightest.
Some of my projects have extensive plans that go into great details. Many have "the magic happens here" steps that lead to creativity, innovation, and occasionally weeping. For some reason, my magic step here was "do the other leg". Since I had done all the plate positioning directly on the first leg I didn't really have a pattern to work with. What to do? The answer was prick and pounce - armor style!
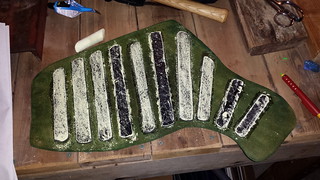
I borrowed my son's sidewalk chalk and used it to make maximum mess on the splint plates. The plates with the texture side up did a much better job of being chalky, but the smooth plates did adequate. When all the splints were thoroughly dusted, I carefully lined up the two pieces, flipped them over, pressed down carefully (no shifting!), and then removed the chalked piece.
The result was a magnificent success! I was hoping for it to work well enough for a fiddly approximation, but the copy was perfect! After the surprisingly effective pattern transfer gluing the second leg was a breeze.
