Tuesday, December 30, 2014

Heraldic surcoat

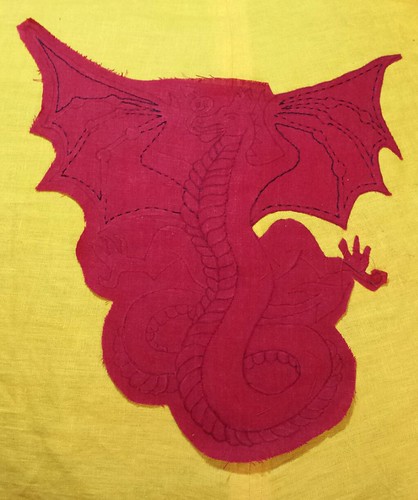
I have a little time off for the holidays and my fun project is a heraldic surcoat for a friend of mine. Here are a few teaser photos of the work in progress. The surcoat itself is machine sewn. The cross was appliqued with my sewing machine using a blanket stitch after I ironed down all the edges. The embroidery is by hand using a #12 pearl cotton. The wyvern is going to be all by hand, both applique and embroidery. The term "fiddly" doesn't even begin to describe the displayed wyvern.

Some applique and embroidery for a heraldic surcoat Wyvern appliqué

Friday, December 19, 2014

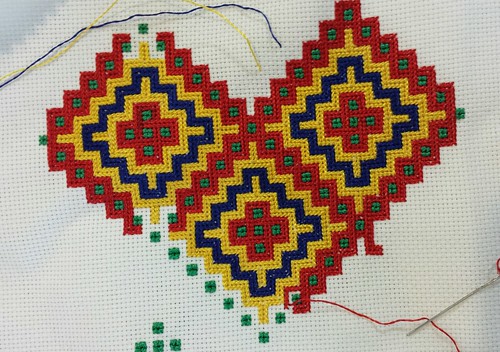
Long arm cross stitch

Today I'm just sharing a little bit of stitching progress from this project: http://helenestuff.blogspot.com/2014/10/long-arm-cross-stitch.html Stitching progress on long arm cross stitch piece

Thursday, October 23, 2014

Long Arm Cross Stitch

In the past, I've fiddle around with long arm cross stitch, but didn't really feel like I'd really mastered the skill. It's not that the stitching is particularly hard, it's just that it's different from a lot of counted work I've done so far and it was hard to split my attention between a chart and a stitching diagram. Additionally, even when I have projects on the frame I like to have a lap project that I can carry around with me. I needed something was portable and not too fussy to pick up and put down frequently. Then the other day, I ran into a lovely little pouch based on the Goss vestments and I felt really inspired.


The handout very nicely put together and contains a great summary of the project. The original is from the blog http://www.zeitboten.de/seiten/u6almosenbeutel_goess.html . The pouch was so pretty and I thought - here is a pattern that doesn't need a chart! Hooray!
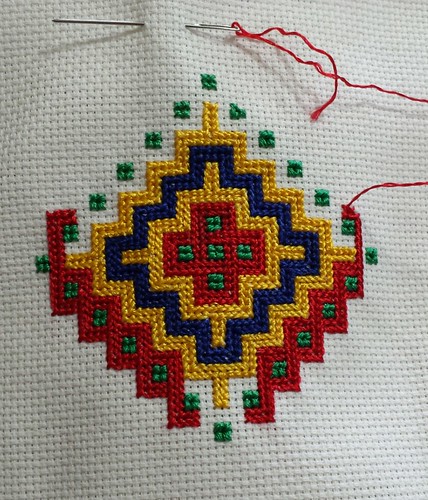
Long arm cross stitch
One thing that really makes long arm cross stitch look nice is the shine off silk provides a directionality and flow for the stitching. My spun silk is soft and nice, but not as great on shine. I rummaged until I found a box of cheap sari silks that I bought a few years back on an impulse buy. They aren't the nicest silk, but they have a great shine! I debated ground fabric for a while. I pulled out several great options - evenweave linen, some monaco cotton, and some aida. Ultimately, I surprised myself went with the aida. I have lots of it floating around. The aida is designed for cross stitch and it makes stitching easier in challenging circumstances. A lap project should be friendly and I figured there would be less squinting and fidgeting with those perfect little squares. The aida makes for a heavier ground than the linen does, but the stiffness also means I don't need a hoop - which is another plus for portability.
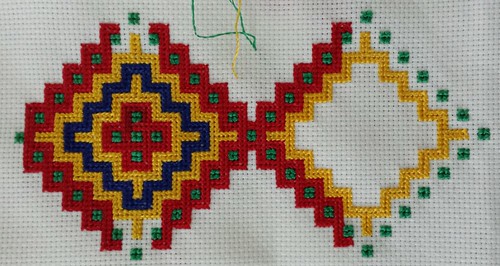
2014-10-23 11.17.47
Now that I've made some progress, I can confidently say that this is a great lap project! The aida makes life easier and the silk has amazing shine. I really, really love the texture of the stitching; it makes an interesting geometric pattern really beautiful. The silks are as fussy as I remembered and they have these little slub chunks that are truly infuriating, but they were cheap enough to use on random projects. The first square was very easy to stitch, with almost no counting. I just followed the stitch lines and the geometry remained true. When it came time to start the second square I realized I needed a method, but the counting turned out to be very easy for this design. I haven't really figured out the final parameters of the project, so the connecting knot work on the edges is left open until I make some decision. I think if it's a pouch then it should be at least two squares in width. The ground is an 18 count aida to give some scale.

Sunday, October 19, 2014

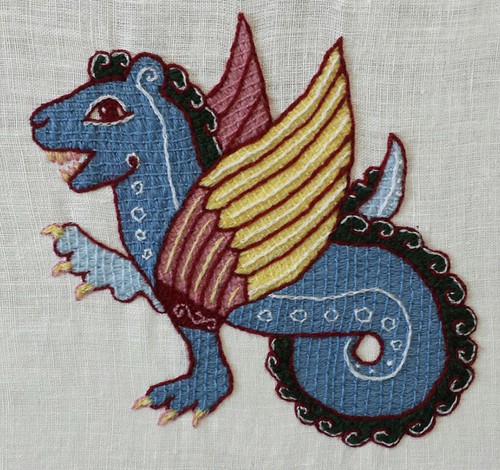
Finishing touches

2014-10-19 14.59.38

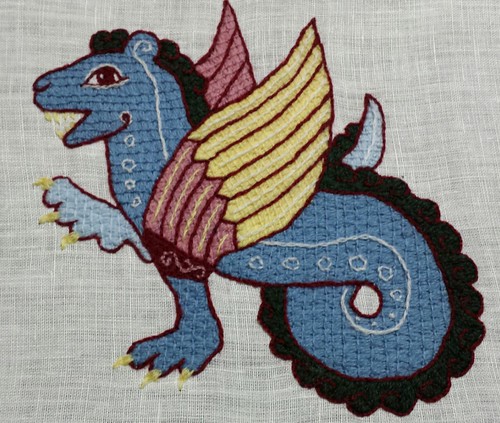
I let my little dragon sit on the frame for a short bit and finally added a few finishing touches. They pale yellow I used for the claws and teeth was so light that they didn't show up, so I added a pink outline for contrast. The maroon I used for outline, didn't give the kind of contrast I wanted on his back, so I added some white as highlight. About halfway through the swirls I wished that I'd used the pink, but it was too late. I absolutely hate picking out stitches - especially wool! So, here he is, my ferocious little dragon is all finished up.

Wednesday, October 15, 2014

Stitch along dragon

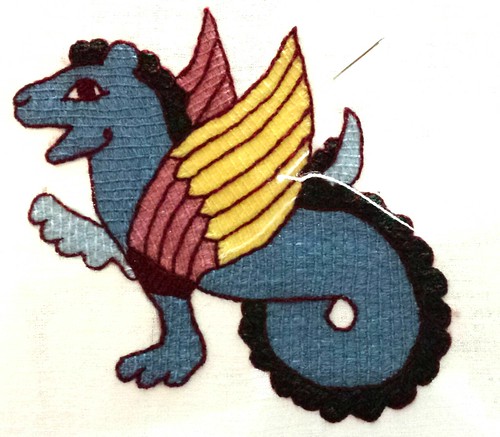
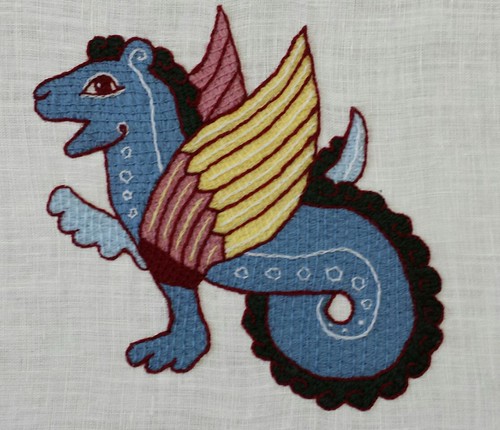
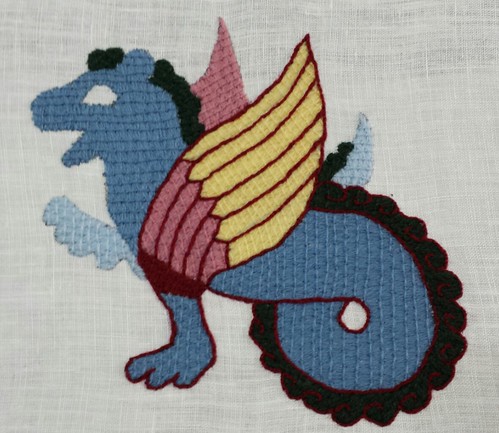
Previously Here are some updates on my stitch along progress. Cute little dragon starts to come together

2014-10-13 23.45.09

2014-10-14 14.37.09

2014-10-14 21.13.36 Technically, he is done here, but I will probably keep futzing about. I think that the maroon outline looses some of the detail and will need highlights. Also, I may add some detail highlights to the claws, because the yellow is so light that you can hardly see them.

Monday, September 22, 2014

Progress on stitch along dragon

Previous Post on Dragon stitch along

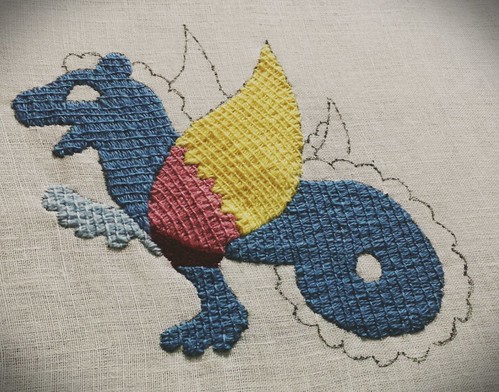
Stitching progress

I'm really enjoying this stitch along. Bayeux stitch is one of those things that I've been meaning to do for quite some time. I think the hardest part of this project is staying patient with stitching progress. Fortunately, we had an SCA demo this weekend and I got a nice chunk of time to get some stitching in.

Stitching progress

The outlining stitches always make such a difference! They are enormously satisfying, since you can begin to see the project really take shape. Stitch on!

Saturday, September 20, 2014

Stitch along dragon

I'm a huge fan of the blog Opus Anglicanum. I really love her both her design work and her stitching. So, when she put together a stitch along for a Bayeux stitch dragon, I just couldn't resist. If you are interested, the materials kit is in this post and the stitch-along starts here.

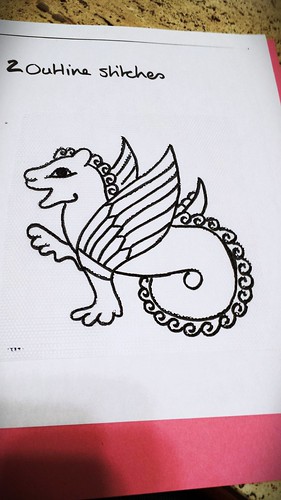
Building a template

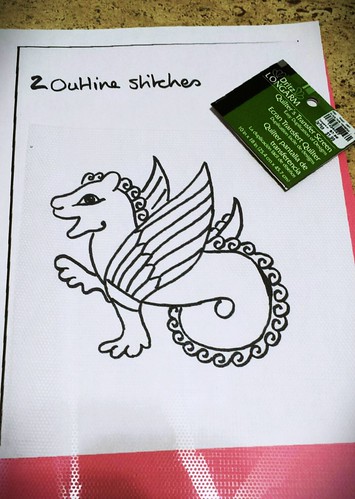
I started my project off by trying a new design transfer method - quilter's mesh. I picked some up recently at a clearance store for very cheap and it seems like a neat option. Here is the mesh and the dragon template I downloaded.

Traced template

I traced the template using a Sharpie permanent marker and it traced pretty easily.

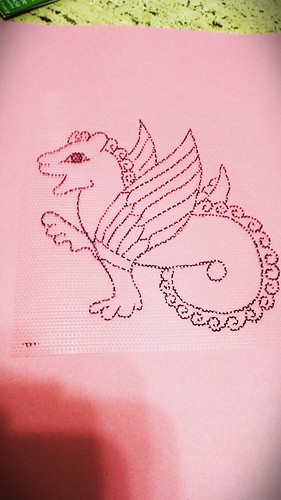
The mesh template

Here is what the mesh looks like with our cute little dragon drawn on.

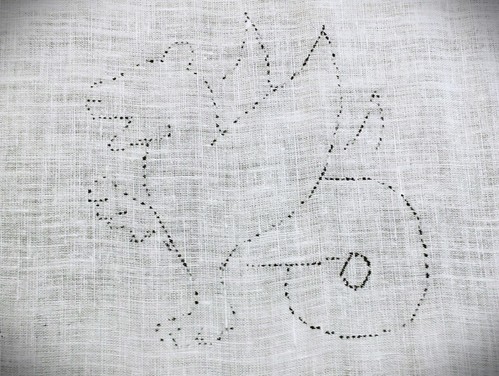
Transferring the design

I have a nice Micron pen that I use for embroidery, but the tip is small and too stiff to work well with the mesh. The mesh holes have just enough depth to snag the pen tip a little, over and over. Instead I went with the Sharpie felt tip and it worked really well. When you lift the mesh up, you get a nice little dotted line to trace.

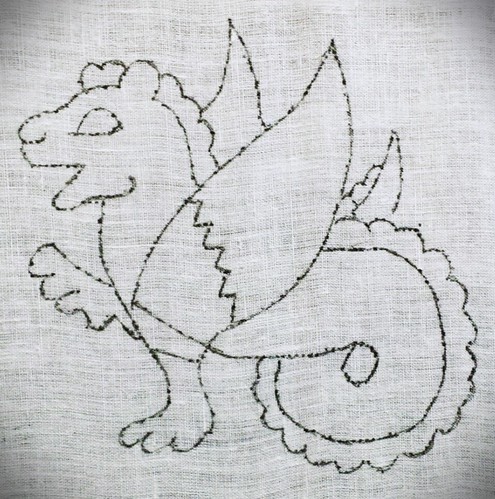
Design with the lines filled in

Here is the design with all the dots connected and the lines smoothed out a bit. My little dragon is ready for stitching!