Showing posts with label wool. Show all posts

Sunday, October 19, 2014

Finishing touches

2014-10-19 14.59.38

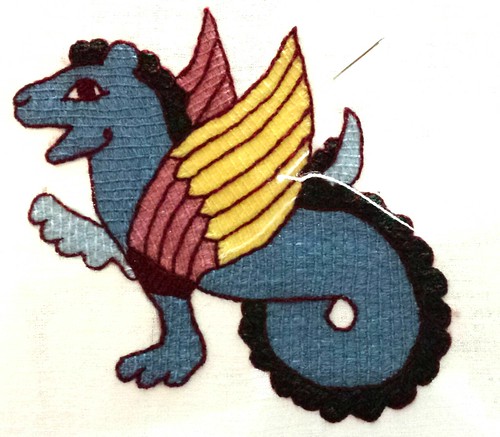
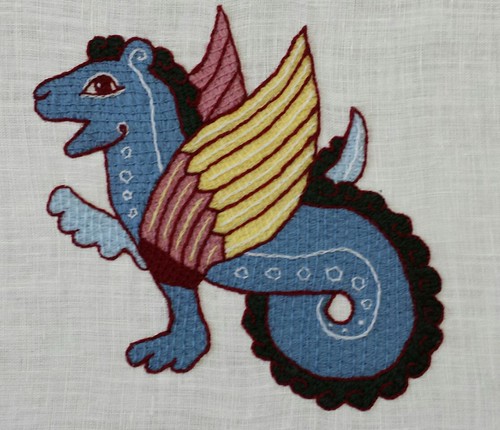
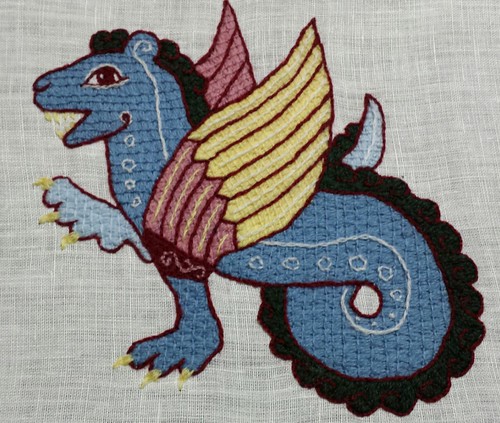
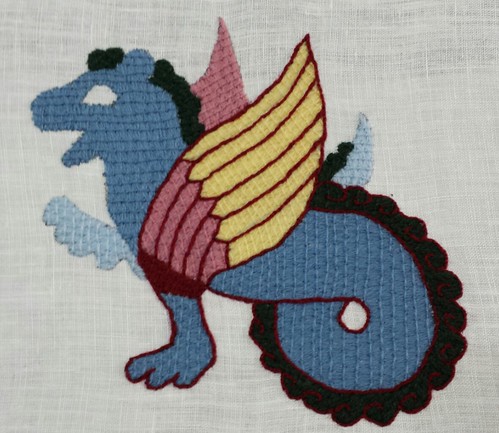
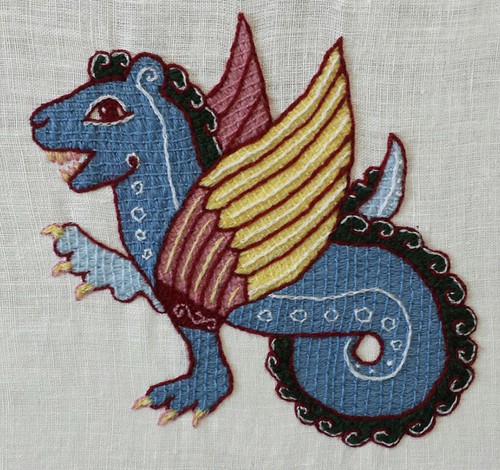
I let my little dragon sit on the frame for a short bit and finally added a few finishing touches. They pale yellow I used for the claws and teeth was so light that they didn't show up, so I added a pink outline for contrast. The maroon I used for outline, didn't give the kind of contrast I wanted on his back, so I added some white as highlight. About halfway through the swirls I wished that I'd used the pink, but it was too late. I absolutely hate picking out stitches - especially wool! So, here he is, my ferocious little dragon is all finished up.

Wednesday, October 15, 2014

Stitch along dragon

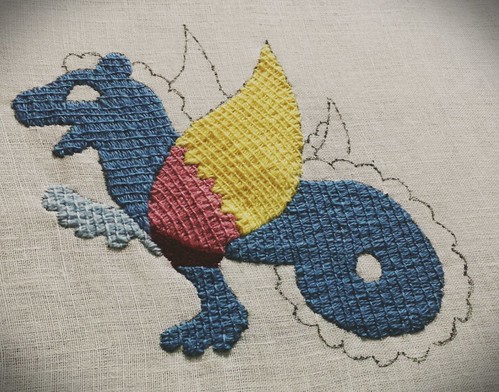
Previously Here are some updates on my stitch along progress. Cute little dragon starts to come together

2014-10-13 23.45.09

2014-10-14 14.37.09

2014-10-14 21.13.36 Technically, he is done here, but I will probably keep futzing about. I think that the maroon outline looses some of the detail and will need highlights. Also, I may add some detail highlights to the claws, because the yellow is so light that you can hardly see them.

Monday, September 22, 2014

Progress on stitch along dragon

Previous Post on Dragon stitch along

Stitching progress

I'm really enjoying this stitch along. Bayeux stitch is one of those things that I've been meaning to do for quite some time. I think the hardest part of this project is staying patient with stitching progress. Fortunately, we had an SCA demo this weekend and I got a nice chunk of time to get some stitching in.

Stitching progress

The outlining stitches always make such a difference! They are enormously satisfying, since you can begin to see the project really take shape. Stitch on!

Saturday, September 20, 2014

Stitch along dragon

I'm a huge fan of the blog Opus Anglicanum. I really love her both her design work and her stitching. So, when she put together a stitch along for a Bayeux stitch dragon, I just couldn't resist. If you are interested, the materials kit is in this post and the stitch-along starts here.
Building a template

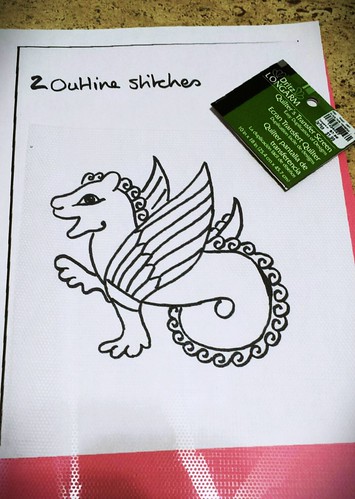
I started my project off by trying a new design transfer method - quilter's mesh. I picked some up recently at a clearance store for very cheap and it seems like a neat option. Here is the mesh and the dragon template I downloaded.
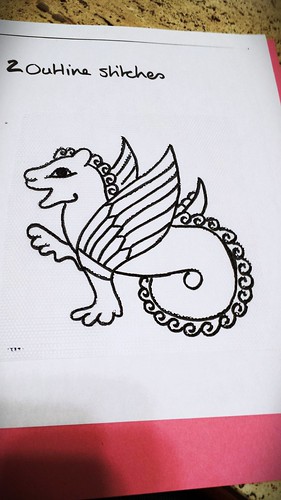
Traced template

I traced the template using a Sharpie permanent marker and it traced pretty easily.
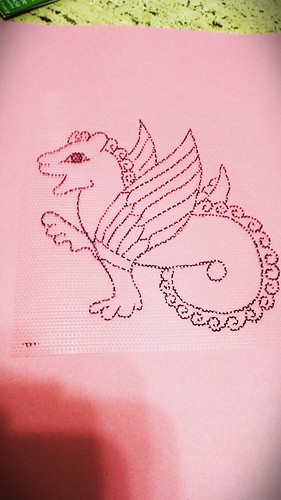
The mesh template

Here is what the mesh looks like with our cute little dragon drawn on.
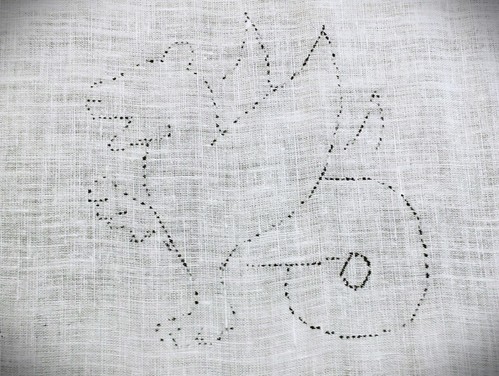
Transferring the design

I have a nice Micron pen that I use for embroidery, but the tip is small and too stiff to work well with the mesh. The mesh holes have just enough depth to snag the pen tip a little, over and over. Instead I went with the Sharpie felt tip and it worked really well. When you lift the mesh up, you get a nice little dotted line to trace.
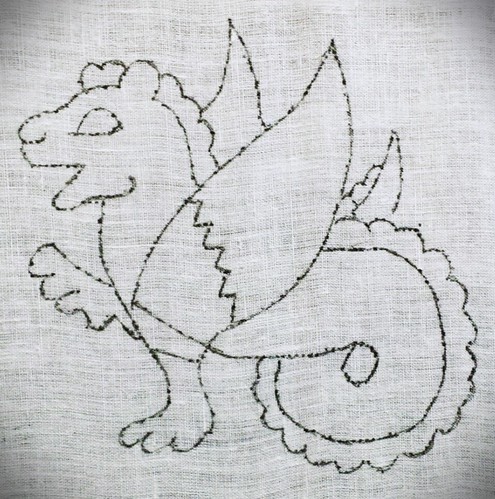
Design with the lines filled in

Here is the design with all the dots connected and the lines smoothed out a bit. My little dragon is ready for stitching!
Thursday, May 22, 2014

Acts of random dye-ness

{Wool, nice spun silk, cheap silk} dyed with red cabbage

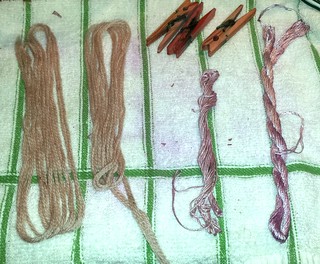
 I was making myself a nice cabbage dish the other day and couldn't bring myself to throw out the pot of bright purple water.  So, instead I added some thread.   Perfectly logical.  Anyway, here's the results of the test run.  Above is are the three samples {wool, nice spun silk, cheap silk} dyed with purple cabbage using a cream of tartar mordant and a bit of vinegar on the rinse.  I like that all three of the pinks come from the same batch.  The cheap silk made the brightest pink.  Also, since purple cabbage makes a nice litmus test (literally) you can see the clothespins with their nice basic wood (pink) and apparently something acidic going on with the metal (green).  You can use your excess cabbage to make litmus strips and test all the things for fun!  Science! Yay!

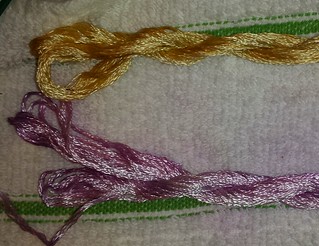
I liked the result and then got to thinging "Now what am I going to do with this?"  Obviously I needed another color, so I found another skein of the cheap silk and let it stew in the left-over coffee from yesterday.  After drying I got a really nice yellow out of it.  So there you have it - random project complete.  I'm really not sure what I'm going to do with it yet.  The colors on these threads will be more delicate, so I won't make anything that must be washed frequently or with gusto.

Dyed another skein of the cheap silk.  I used left over coffe :)

Thursday, August 2, 2012

More rose progress

I've finished most of the stitching for the rose! Hooray! I'm very pleased with how it's turning out :) rose2

My current obstacle is that I forgot to buy yellow wool for the center. I didn't even realize it until I finished the outline and was at the "what next"thought. Oh well, I will have to make a trip to the thread store. It's not really a problem if it gives me an excuse to go to the thread store.

One medieval aesthetic that has been a bit hard for me to embrace is outlining in festive colors. My natural instinct is to just always outline in black. I have seen so much beautiful embroidery work with contrasting and festively colored outlines, that I decided to grow as a person - I used white for the outline. I really like the results, it adds to the harmony of the piece. For perspective here is the rose stitched, just before the outline is added. You can see a little bit of the black drawing through, which gives you and idea of how a black outline would have looked - I like the white much better. rose1

Sunday, July 29, 2012

Wool roses!

rose3 I've had this project sketched out for a while and have finally gotten started on it - wool roses! Racaire has been posting beautiful wool work on her blog for a while and it has inspired me to give it a try. It's a definite shift from all that silk that I like to play with.

I used the pattern from Mary Corbet's blog for her silk Tudor rose project. One day I will try the actual goldwork rose from her blog, but for now I'm just using the drawing.

So, this is my progress thus far. I've finished the fill stitches on the rose. I have just started the outline stitches, but didn't get enough work done on that to make an interesting progress picture. I am slowly getting a feel for the wool and am getting to really like it. I don't know why, but I had a mental image of wool as unruly and messy, but it is starting to look really nice. It even has a soft, fuzzy shine to it that is very nice.