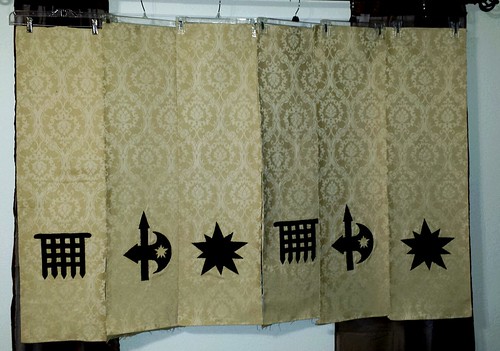
Production on these was fairly simplified since I was aiming to actually finish them this year. I wanted a look that would complement Giant Sparkly Banner, but they aren't competition pieces, so bring on the sewing machine and quilter's hacks! The black is a sturdy cotton velvet with a very short pile. It's a very pretty velvet, but it's best feature is that a test swatch passed the ironing test - on high heat. That means I can do all sorts of fun things with it.
First, I fused a tear-away stabilizer to the back of the brocade. The brocade is pretty, but it would never hold up to the abuse I was about to heap out without some help. I cut out the and fused the velvet charges to the brocade using Heat-N-Bond. I wanted something that could pass for hand embroidery at a distance, so skipped the traditional fusible+satin stitch option. My machine has a nice blanket stitch option, so I used a narrow blanket stitch and stitched down the edges for each of the charges.
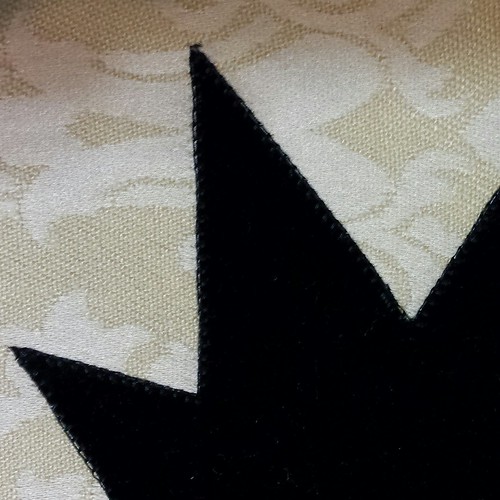
Any banner that is going to sit next to Giant Sparkly Banner is going to need a little pizazz, so I dug out my left over gold twist. I couched the gold twist around all of the edges by hand, on top of the blanket stitch. The result is nice. The gold twist makes a nice contrast border for the velvet and adds some sparkle, while also covering up any stray machine stitching that wasn't exactly flush with the edge of the charges.
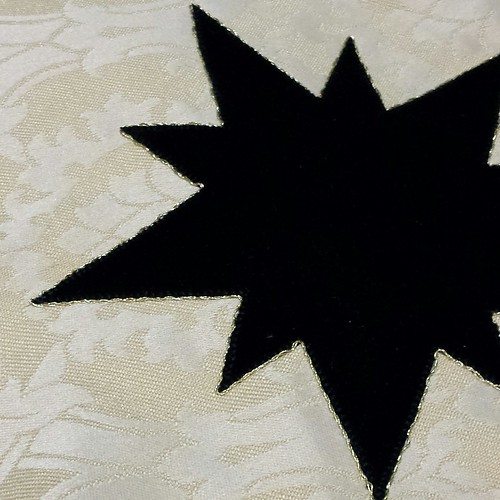
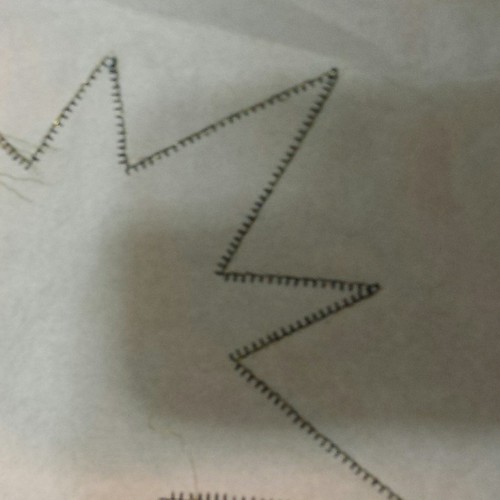
I left the fused stabilizer on the back, which made the stitching for the couching quick work. I didn't need a hoop or frame, since my tension was perfect. The lightweight tear-away stabilizer didn't hamper my the needle work at all. Below you can see the back of the pieces with visible machine work in black and hand work in gold.
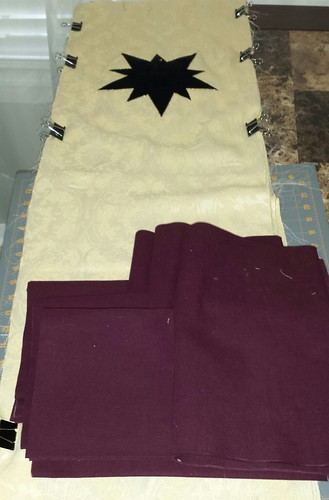
Overall, this was a great approach to get maximum bang for my time. I started to feel like the project was dragging, but then realized that there were six of these things! After the embroidery was all finished, I ironed out the pieces, squared them off, and cut the canvas backing. This part was all classic quilter's skills, except I had a stack of brocade, which is less cooperative than quilter's cottons. Again, I found that you can never have too many binder clips and there is always a use for more. After taming the wild brocade and squaring things off I managed to actually hit my target of a width of 12 inches for the banners (although some of my hems will be very small). In another stunning development, when I finally hung them up, the charges are all lined up correctly. I kind of held my breath on that one, because no matter how much you plan and check and re-check you always fear that something weird would happen. Will one be out of vertical alignement? horizontal alignment? upside down? I kind of just stood there and stared for a bit when they turned out just fine. Hooray!
No comments:
Post a Comment