Tuesday, October 27, 2015

Royal gloves - sewing things up

20150919_192559

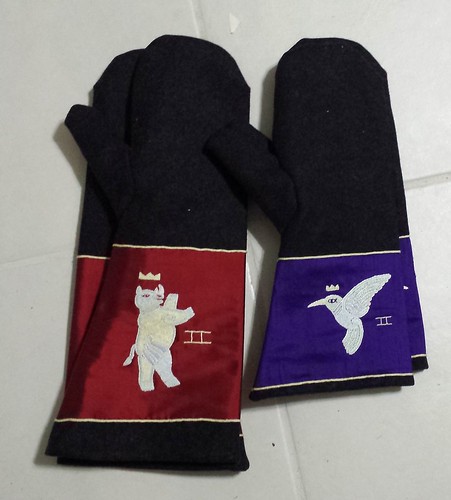
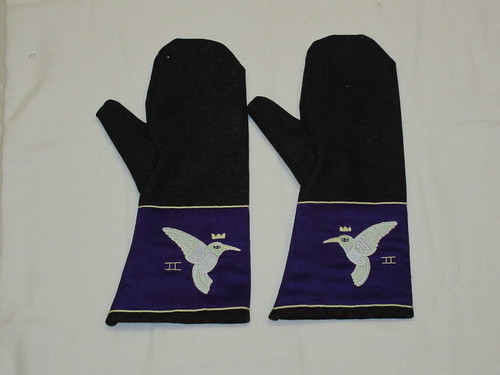
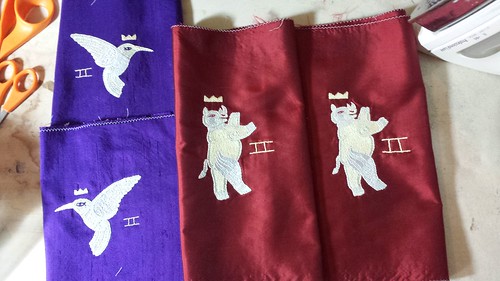
And finally I had this lovely pile of embroidery.  We are going to pretend that both of the hummingbirds are facing the correct direction and proceed accordingly.  Next we are going to sew the embroidery to the pieces of our gloves.  The gloves here are actually mittens, because we are Vikings!

  20150927_124246

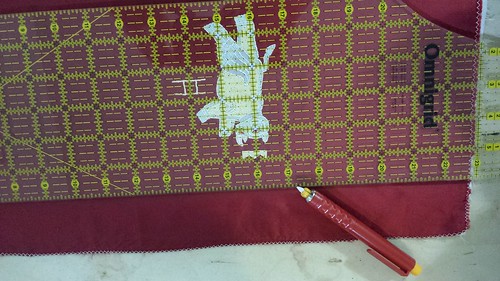
I just love my quilter's tools.  Here I am using my block ruler and chalk pencil to get all the lines perfect.

20150927_131503

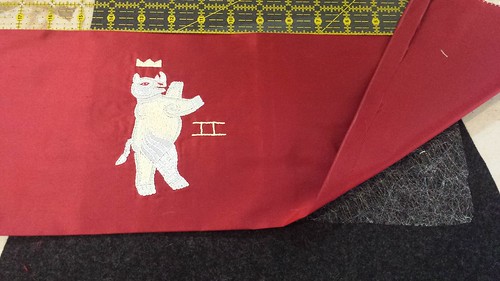
And now I've ironed in my the folds for the embroidery piece.  I used an ultra-lightweigh fusible called Misty Fuse.  The fusible itself is like gossamer and floats on the air.  It's good to tack things down and doesn't add stiffness to the piece.  It's not so great if you have the ceiling fan on.  I wouldn't use it without extra stitching though.  I also have my trusty block ruler to line things up just right.

  20150924_213102

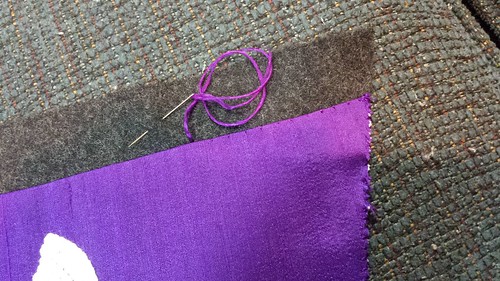
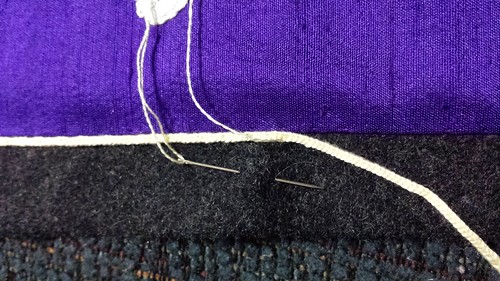
 I pulled enough silk from the ground fabric to use it for stitching down the embroidery. Here are the teeny tiny stitches on the fold. 20150925_191654

And here is the embroidery all sewn down to my glove piece.  Can we make it prettier?  Yes!

20150925_204238

I used the light yellow silk to lucet up some cording for a matching trim.  Then I used the same silk to stitch down the tiny trim over our seam edge.

20150925_205931

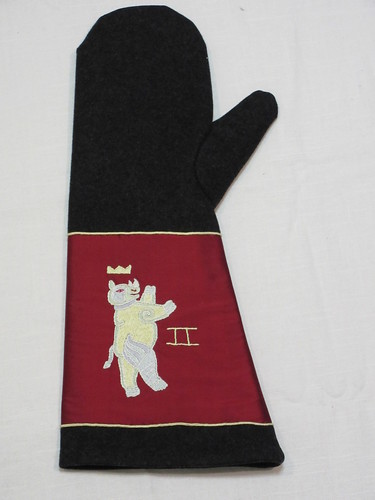
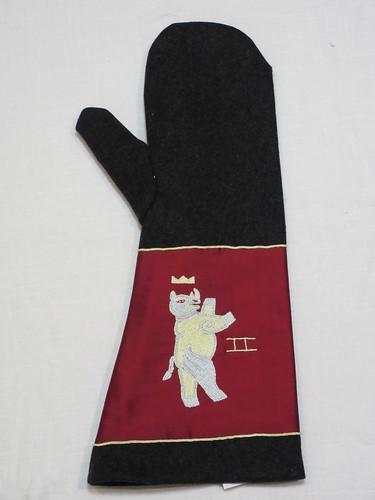
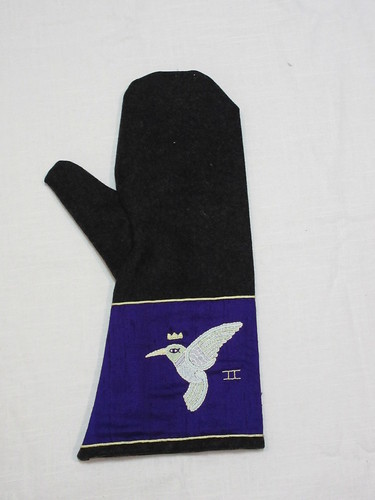
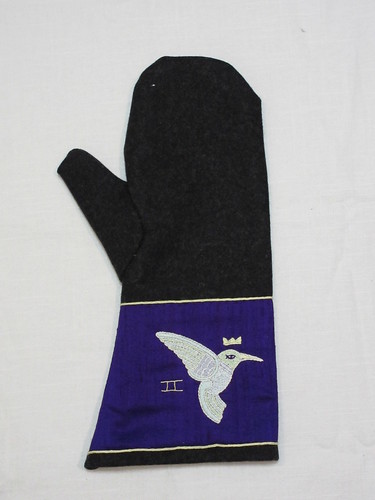
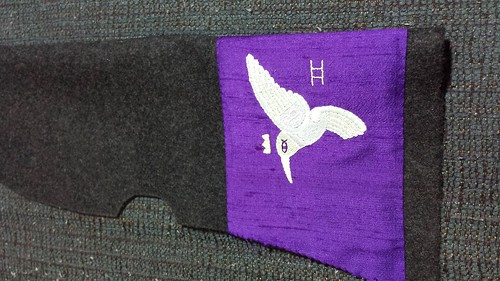
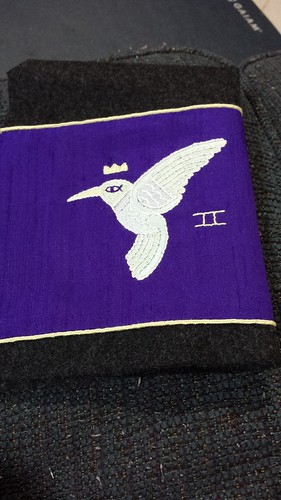
And here is one finished cuff ready to be sewn into a finished mitten!

Royal Gloves - Rhino

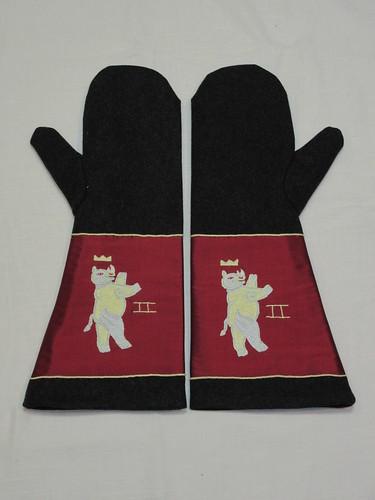
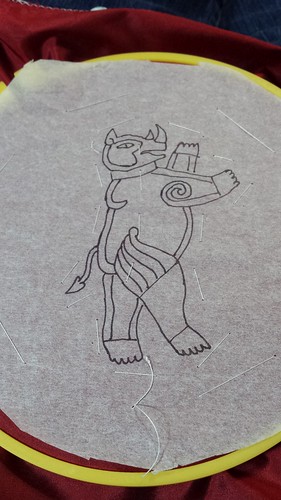
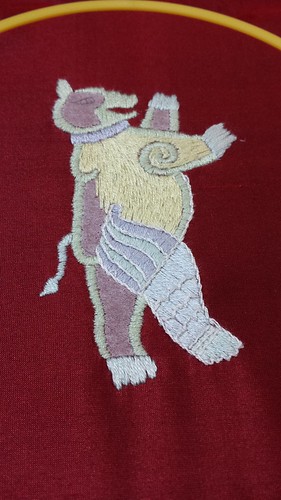
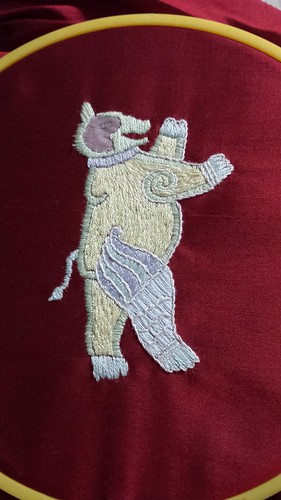
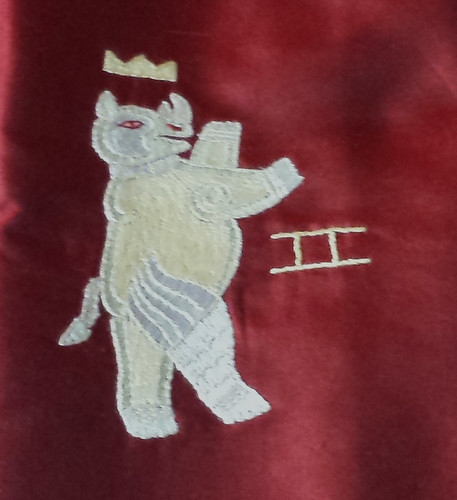
Sven's heraldry is a rhino, which was an interesting design challenge.  It's difficult to make larger creatures in the Viking aesthetic and have them still look "cool" to the modern eye.  After a large number of drafts I finally was happy with this guy.  The rhino was bigger and had fewer smooth lines than the hummingbird, so I went with a tissue paper template for the stitching pattern.  Here's the template basted onto the gorgeous red silk.
20150910_220315

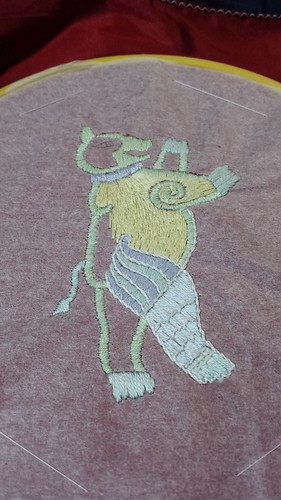
I don't like the tissue paper, so it took enormous self control to leave it on while I stitched.  Here's some stitching progress on my rhino.  The color palette and thread are the same set as the hummingbird.
20150907_201602

Finally, I was far enough along to pull off the tissue paper!

20150907_202545

Nearly done....
20150908_194616

And here is a slightly fuzzy picture of the completed rhino
20150919_192553-b

Friday, October 23, 2015

Royal Gloves - hummingbird

My commission for gloves for the Royals of Ansteorra has been delivered, so now I can post my pretty pictures!  The gloves were for Sven II and Antigone II and were given in court a couple of weeks ago.

I had a lot of fun with these, since I had a lot of latitude for design work.  I decided to go with a Viking theme, since they both have some great Viking kits.  I wanted to use their heraldry in a way that maintains the artistic aesthetic for the Viking age.  I spent quite a bit of time futzing with the designs until I found something that I really liked.  My inspiration was largely woodwork and stonework designs from the Viking era.  Here is the hummingbird for Antigone.

20150827_195204

The ground fabric for the embroidery was a nice Dupioni silk.  I drew the hummingbird on the muslin that I was using to reinforce my silk and then basted the design to show on the front.  Below are the front and back showing the tiny basting stitches.  

20150827_203816

20150827_203827

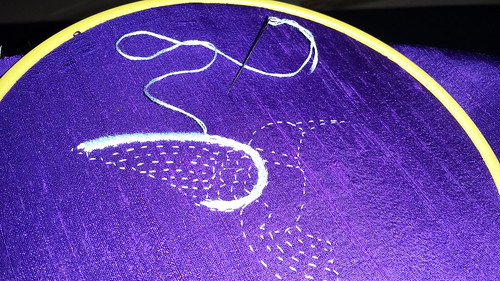
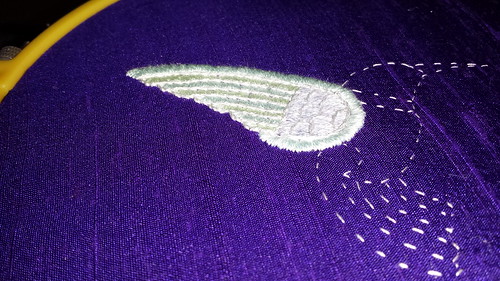
I wanted a little bit of depth on the hummingbird, so the arc of the wing has a layered stitching underneath the satin stitch.

20150828_222012


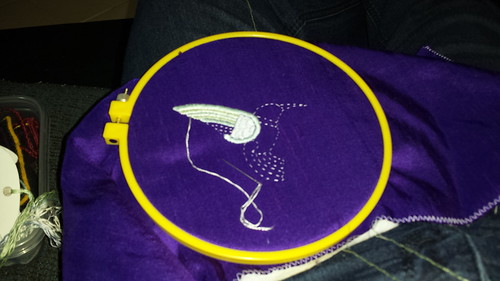
The stitching is in Rainbow Gallery Splendor silks, which is a spun silk.  Both Antigone and Sven have white charges on their devices.  The Viking aesthetic would have been lots of bright colors.  I decided to take a bit of artistic licence with the colors.  I chose a color palette with lots of colors, but then picked extremely washed out versions of the colors.  My goal was to see lots of colors up close, but for the charges to look white from a distance.  Here's a fuzzy progress  picture of the stitching.

20150829_174323

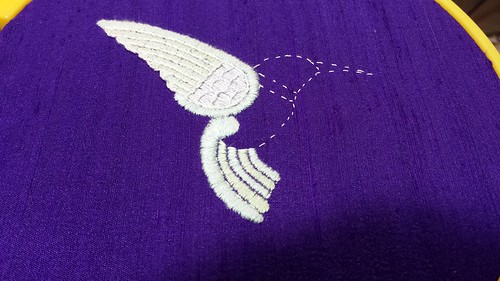
Here's another progress picture for the hummingbird.  The fill stitches are a variety of colors and the outline is all in white.

20150829_184712

20150829_212941

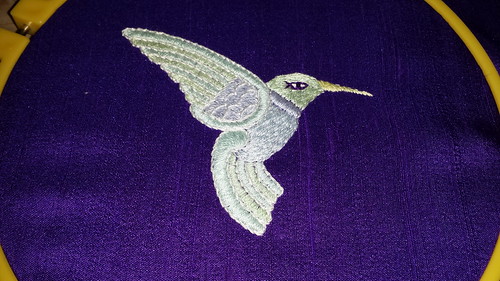
I pulled some threads from the dupioni and used them for the eye embroidery.  And here is the finished hummingbird!

20150830_165222

Tuesday, October 20, 2015

Strapping new arms

IMG_0561
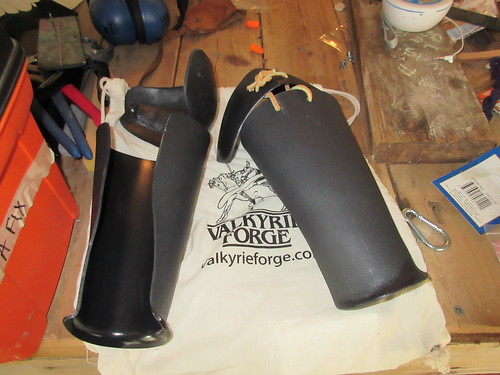
At Gulf Wars I picked up some new lightweight plastic arms.  I needed to strap them, so I thought that I would share with you how I got it done.
IMG_0562
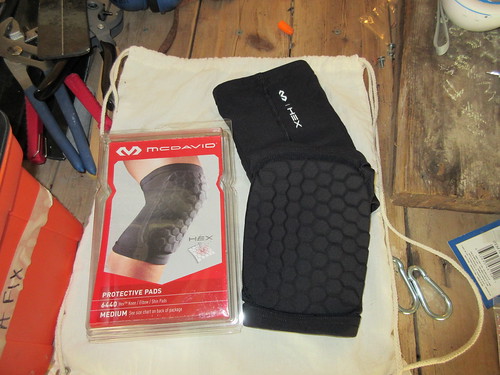
First, here is what I am putting under my elbows.  The sleeve is fairly tight and I am using it to keep my arms in place.  The elbows are tied directly to the sleeve.
IMG_0564
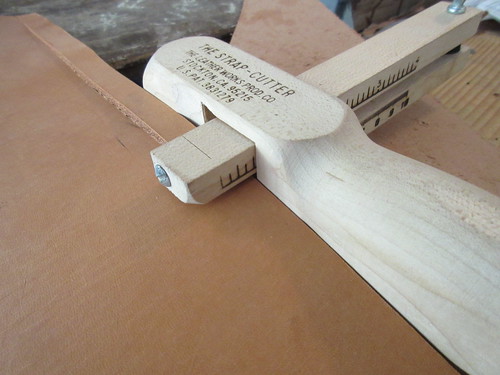
Here is my trusty strap cutter and the giant chunk of leather that hangs out in my work area.  I've got the cutter set to the correct width for my buckles.  I'm cutting four straps - two for each arm.

IMG_0566
Here are some freshly cut straps and buckles.  It's a start.
IMG_0568
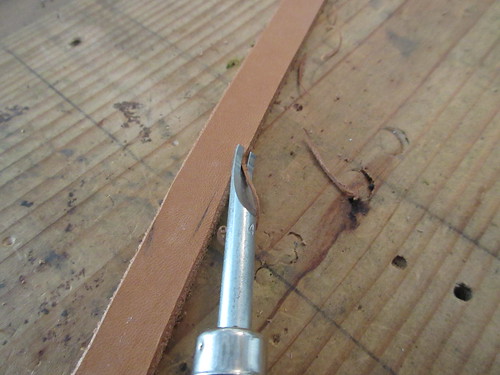
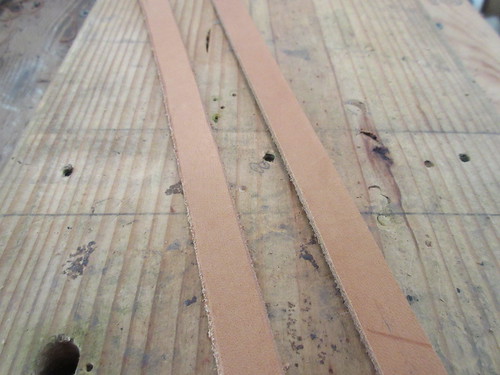
I'm fussy about raw edges on leather, so here I am beveling the edges to smooth things out.
IMG_0570
Compare the beveled edge on the left to the raw edge on the right.
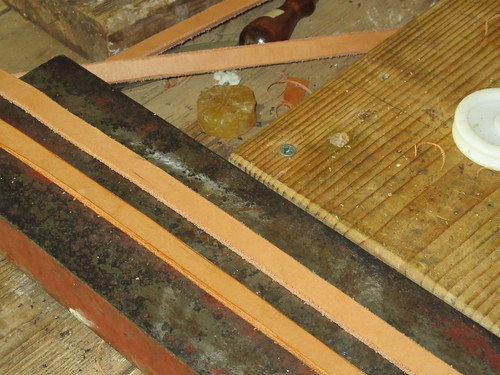
IMG_0576
The left strap has been beveled, smoothed, and waxed.  Now you can really see the difference between the nice strap and the raw edges.
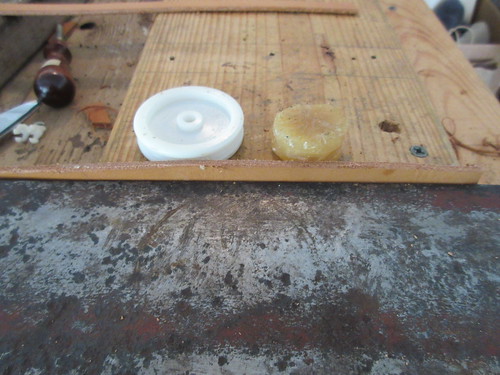
IMG_0577
Here are my trusty tools: edge slicker and beeswax.  I used my anvil to hold the strap in place while I worked the edges.
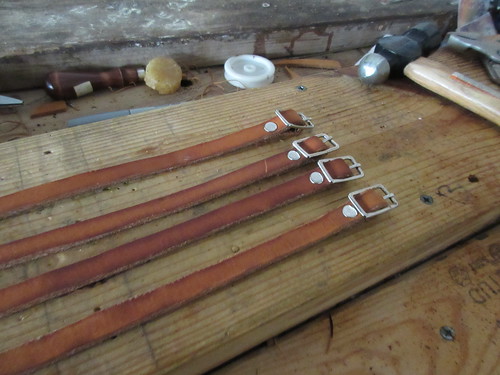
IMG_0580
After I finished the edge work, I oiled the straps with some neatfoot oil.  The oil will protect and condition the leather.  As an added bonus the oiled leather looks nicer.  I've also riveted in my buckles on one end.
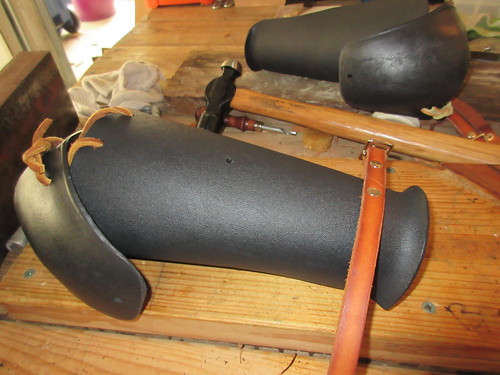
IMG_0581
I drilled holes for the initial placement of the straps.  First strap has its first rivet.
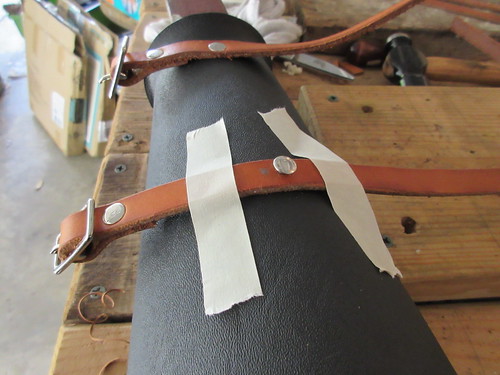
IMG_0582
How do you keep things still for the hammering?  Tape!
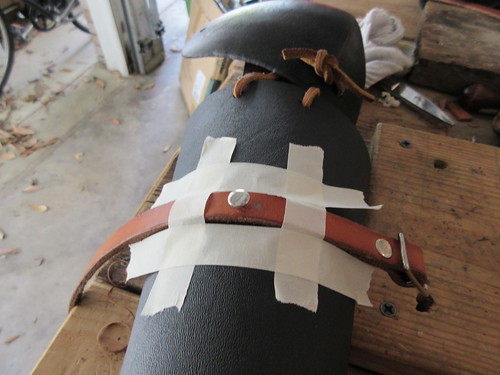
IMG_0583
Needs more tape!  I don't want the strap wiggling on impact.
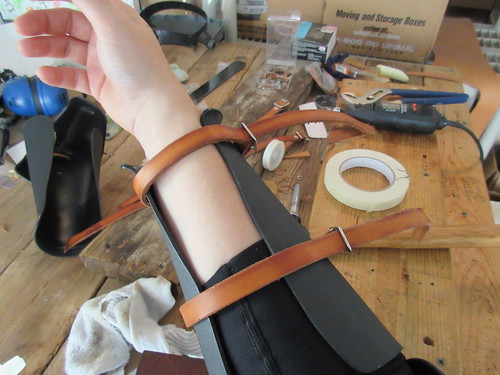
IMG_0584
The straps are riveted in and ready to punch buckle holes.
IMG_0585
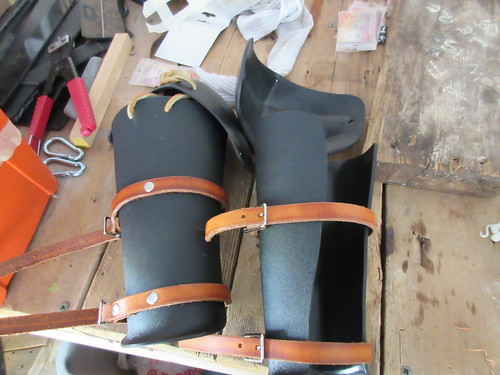
All the holes are punched and the longer edges are trimmed off.  All done!
IMG_0595
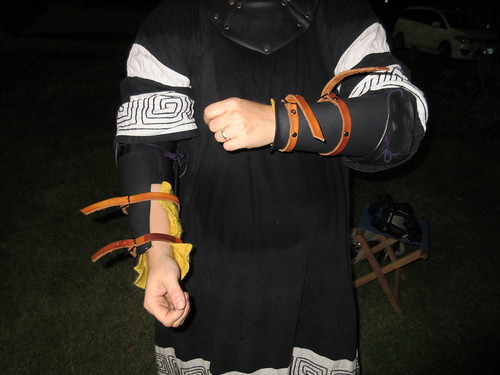
Here are the arms with my gear.  The yellow is some wool felt for extra padding.  The purple lucet cords tie the elbows to the arms and point the elbows to the sleeve we saw in the second picture.
IMG_0596
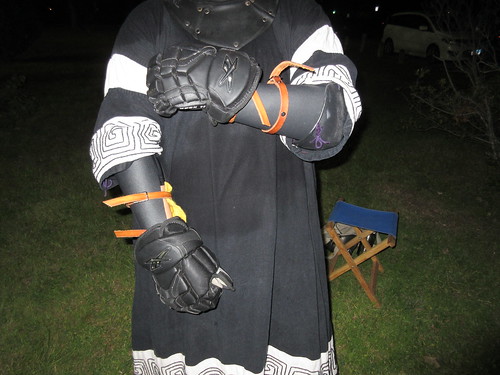
Gloves on and we are ready to go!