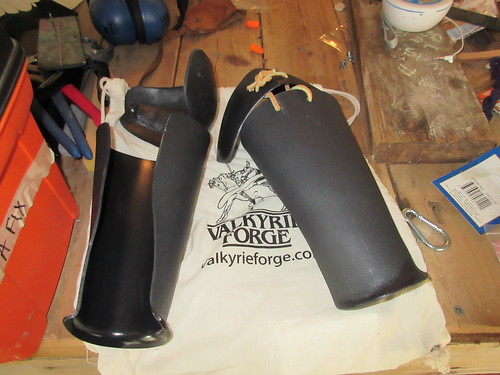
At Gulf Wars I picked up some new lightweight plastic arms. I needed to strap them, so I thought that I would share with you how I got it done.
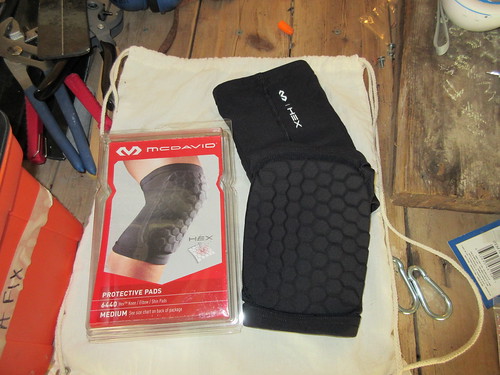
First, here is what I am putting under my elbows. The sleeve is fairly tight and I am using it to keep my arms in place. The elbows are tied directly to the sleeve.
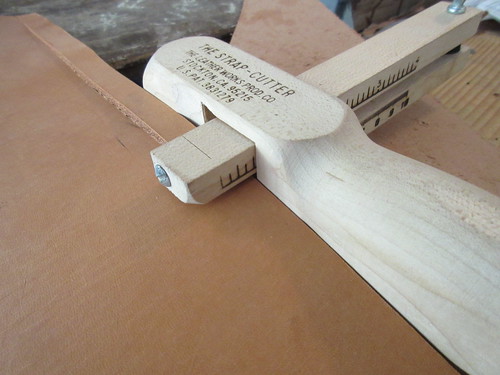
Here is my trusty strap cutter and the giant chunk of leather that hangs out in my work area. I've got the cutter set to the correct width for my buckles. I'm cutting four straps - two for each arm.

Here are some freshly cut straps and buckles. It's a start.
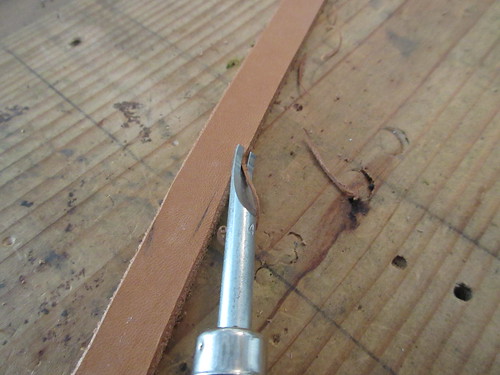
I'm fussy about raw edges on leather, so here I am beveling the edges to smooth things out.
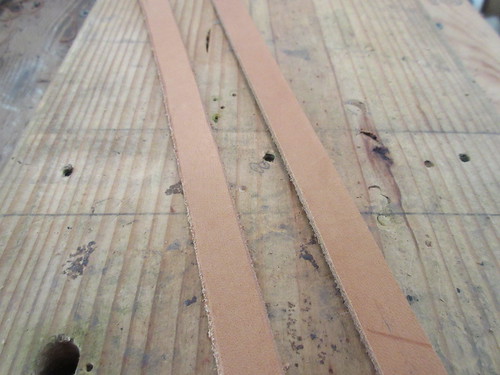
Compare the beveled edge on the left to the raw edge on the right.
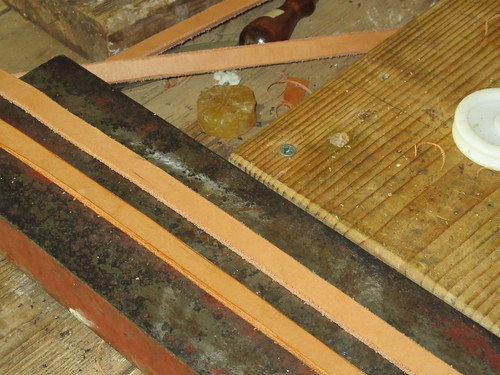
The left strap has been beveled, smoothed, and waxed. Now you can really see the difference between the nice strap and the raw edges.
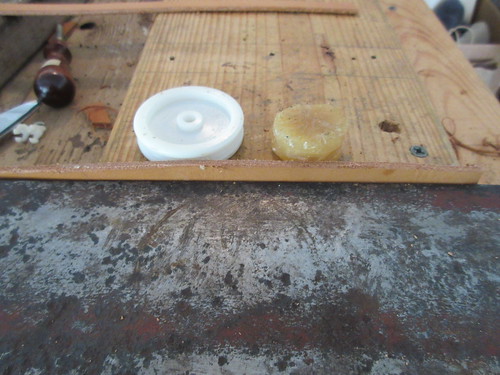
Here are my trusty tools: edge slicker and beeswax. I used my anvil to hold the strap in place while I worked the edges.
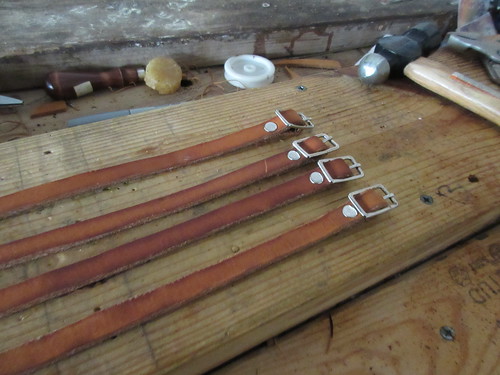
After I finished the edge work, I oiled the straps with some neatfoot oil. The oil will protect and condition the leather. As an added bonus the oiled leather looks nicer. I've also riveted in my buckles on one end.
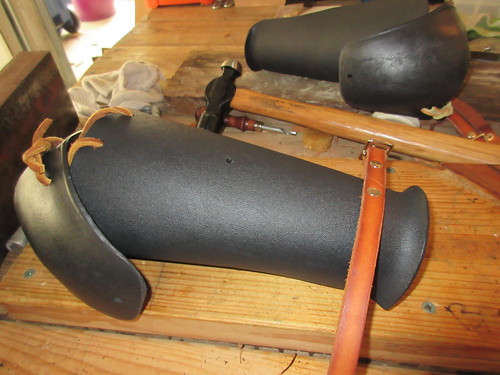
I drilled holes for the initial placement of the straps. First strap has its first rivet.
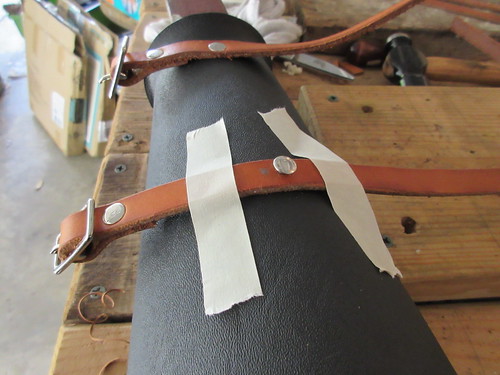
How do you keep things still for the hammering? Tape!
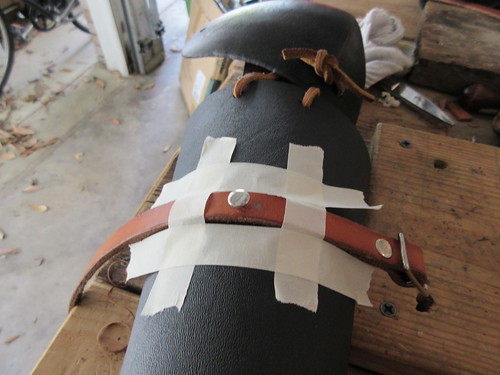
Needs more tape! I don't want the strap wiggling on impact.
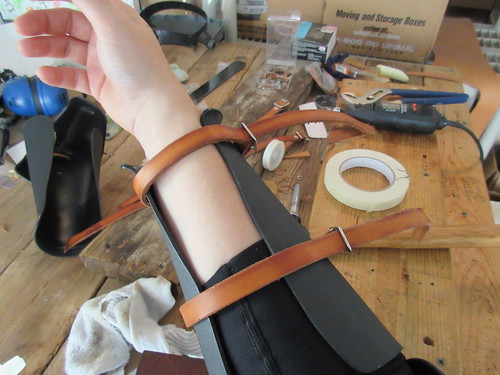
The straps are riveted in and ready to punch buckle holes.
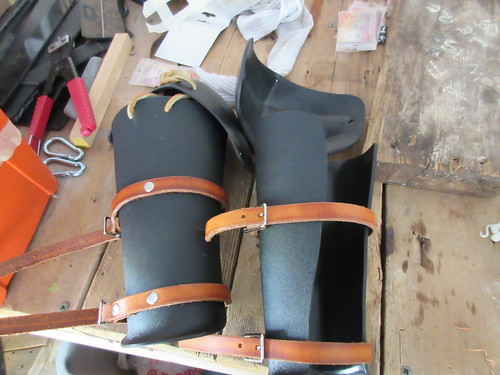
All the holes are punched and the longer edges are trimmed off. All done!
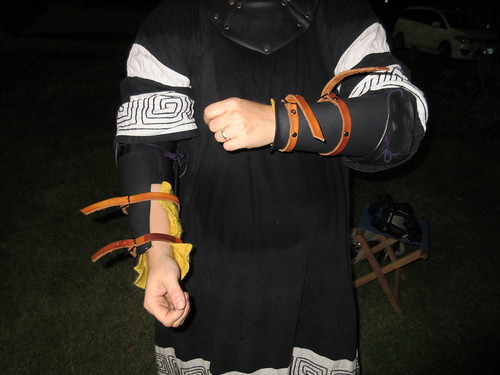
Here are the arms with my gear. The yellow is some wool felt for extra padding. The purple lucet cords tie the elbows to the arms and point the elbows to the sleeve we saw in the second picture.
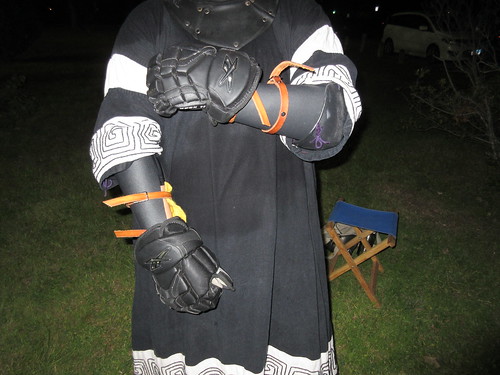
Gloves on and we are ready to go!
No comments:
Post a Comment