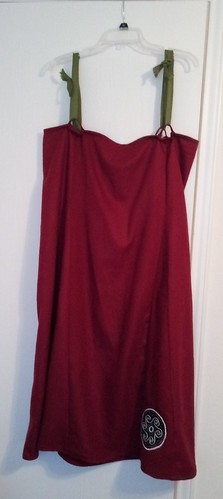
 I've started work on an viking apron dress! I finished sewing it last week and had some time this weekend to get started on the embellishments. The sewing went well and all more gores are pretty and lay flat, so I was very pleased. It seems that completing a dress is only the first step, since there is lots of decoration to do. I started work on the embroidery, since that should go fairly quickly.
I follow a lot of blogs of people I don't know who do nifty things, and I have been particularly inspired by Ari's embroidery. I have a box of worn out silk shirts that I use for scrap on projects and wanted to use it for applique. I didn't want to use wonder under for the applique though, since it would make the silk too stiff and weird. So I took a leap of faith and tried Ari's techniques. I think most of her stuff is wool, so I may regret using fiddly silk, but hey - it's "free" stash fabric, so I may as well give it a try.
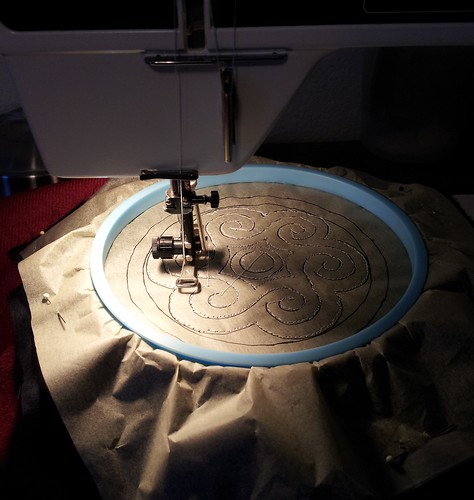
First step is getting the fabrics sewn together and the pattern transferred. I traced the pattern on some tissue paper and then put the dress + silk + tissue paper in an embroidery hoop on the sewing machine. The hoop kept the silk from slinking around and gave me some maneuvering control. Spirals on a completed dress on a straight stitch is probably the path to madness, so I've got an embroidery/quilter's foot on the machine to do the work free hand. Below is a picture of the set up. It worked pretty well and my only complaint was that the hoop should have been a bit bigger for better maneuvering (but there's a trade off for fabric tension with that slinky silk). My 4-year old was fascinated by the process, so I got some "helping", which resulted in some wiggly lines, but that is fixed later.
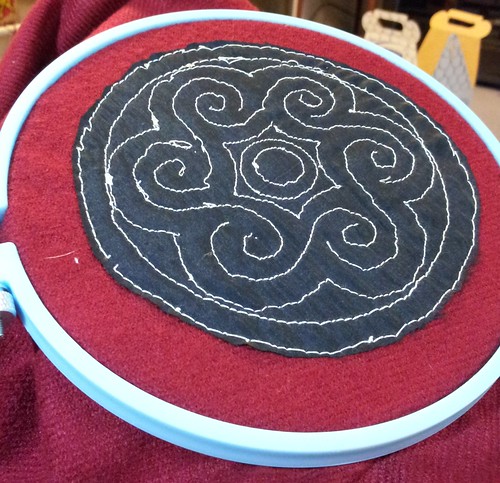
 Here is the result off the machine. Silk is sewn down and pattern sewn in. Don't worry, it gets prettier with more stuff on it.
 Trimmed away the excess fabric and loaded it up into a hoop. Now we are ready for embroidery time!
 My first concern was anchoring down the edges before the silk totally shredded and getting the edge decoration done. I really liked Ari's anchored chain stitch approach for strength + decoration, so I gave it a shot. It took a few stitches to get the rhythm right, but I like the way it turned out and it seems to be holding up. In my zeal to anchor the silk firmly, I think that I used stitches that were just too small for the anchored stitched. I probably should have made them twice as long, but I was so worried about a strong anchor, shredding silk, and edge coverage that I was perhaps a bit too enthusiastic. There are a few little silk shreds poking through, but not as bad as I had worried. Of course the whole silk background may disintegrate after washing, but I will still have some nice surface embroidery, and that's how experiments go.
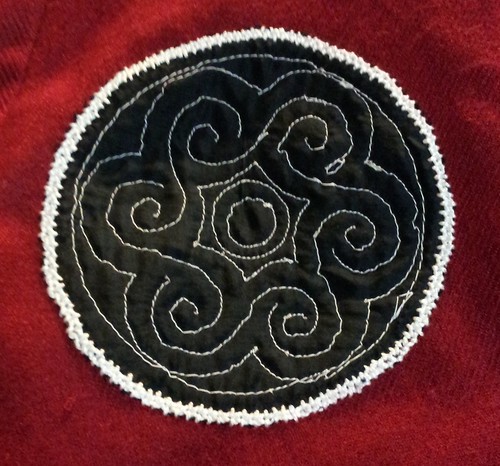 Next is filling in some of the pattern. I worked the spirals in stem stitch and the inner circle in chain stitch. I'm still working on my stem stitch technique, but it is improving and I think that it will hold up. As I'm stitching, I am also pulling out any stray wiggles from the sewing machine thread. This keeps things looking tidy and keeps too much fuzz.
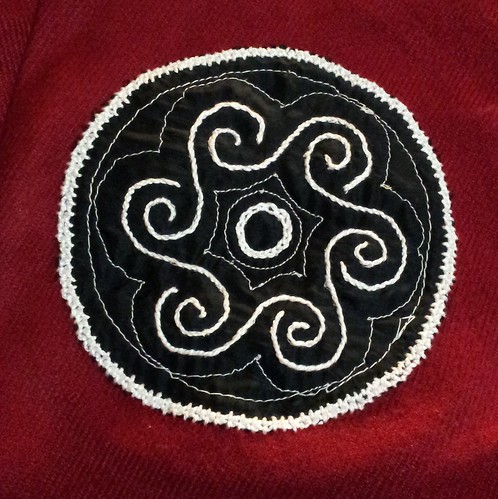 So far, I really like it. The embroidery over silk lends an almost quilted quality that gives it some depth and shine. It's actually nicer than I expected. Next up is the gray fill for the outer and inner circle designs.

