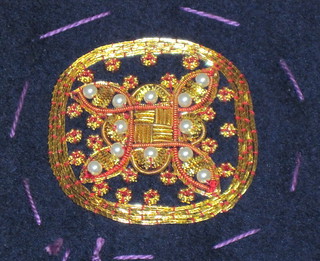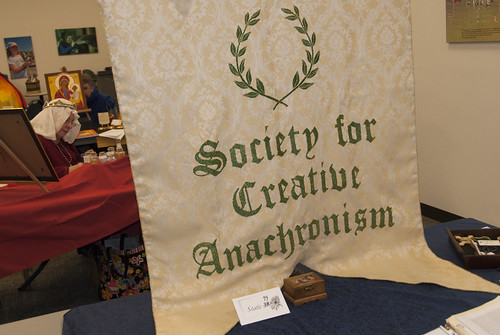
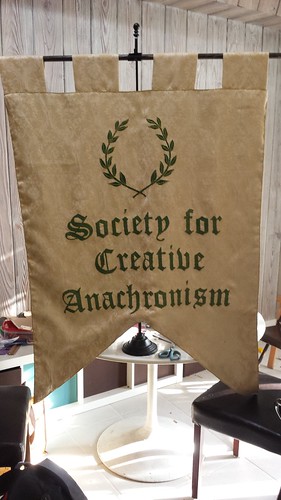
Giant Sparkly Banner made a trip to Kingdom A&S and to Bryn Gwlad A&S competitions. Above are pictures of it in action. Below is a picture of the banner completed getting ready to go traveling.
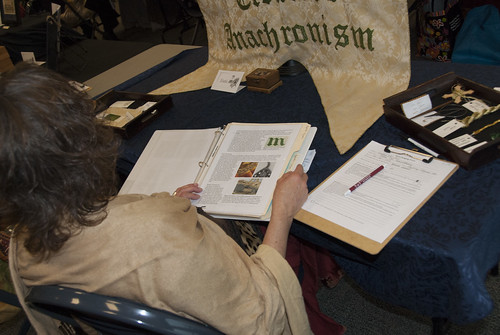
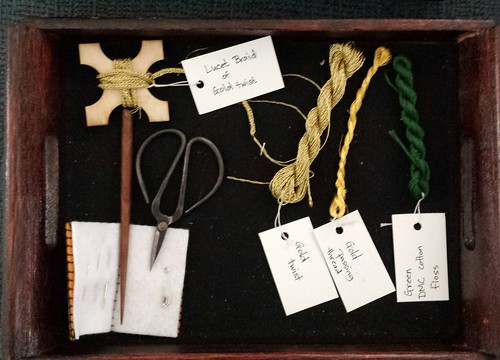
My display used two trays: one for materials and one for technique. The materials tray contained my tools including scissors, needles (in the needlebook), and a laying tool. I made skeins with the threads I used in the green, the passing gold, and the gold twist. Finally, I included a sample of the gold twist lucet cord, which I stored on a thread winder.
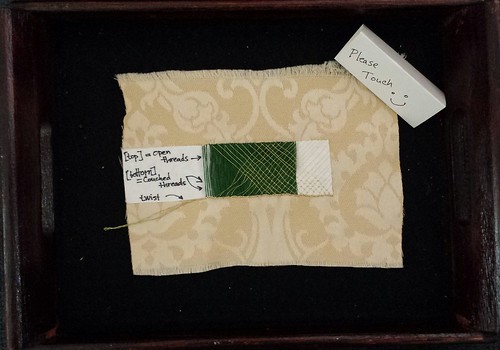
The second tray displayed the various steps for the embroidery. The two fill patters were embroidered in a series of steps
- Foundation: The foundation layer is the white interface foundation which was cut to design and ironed on the brocade. In the sample the white layer is shown at either end of the swatch.
- Laid green stitching: The green threads were laid down for full coverage of the foundation. The stitch length for the green thread is much longer than most embroidery stitches because it will be couched down later. You can see in the picture that the green thread drifts and wiggles where there are no layers above it.
- Laid gold stitching: The next layer was gold passing thread embroidered in laid work pattern, which was on top of the green embroidery. The letters were embroidered in open laid work using a grid pattern. The leaves of the wreath was patterned after Gabriel's wings from an alter frontal so the only laid work was the single gold twist thread along the center. The top half of the sample shows the laid gold threads before they are couched. There is still some shifting of the gold and green threads and the sheen is at a uniform angle.
- Couching:After the laid work is finished, the gold pattern (grid or wing/leaf) was couched down. For the grid pattern on the letters, each intersection is couched with a single stitch of gold passing thread. For the wing pattern on the leaves of the wreath, the center gold twist is couched with a longer stitch at an acute angle. The leaves have fewer couching stitches, but the stitches are longer and cover more of the green thread. The bottom half of the stitching in the sample shows the grid with the intersection couched down. The couched intersection gives the work a more dimensional look which adds more sparkle. On the far right end of the swatch you can see the grid couched down without the green layer, to show the couching stitches more clearly.
- Outline: The final step for each embroidered motif was to add an outline of couched gold twist. The sample shows the gold twist couched on the bottom of the foundation layer. On the right side of the swatch,
the end of the twist has been plunged (pulled through the
brocade) as is normally done on finished embroidery. This is
a good example of why the foundation and brocade
combination work so well. The foundation provides stability
for the couching stitches, which the looser weave of the
brocade allows the much thicker gold twist to be pulled
through to the back without creating tears or runs in the
weave. The left side of the swatch shows the gold twist left
loose on the top, which is what it looks like while it is being
couched. You can immediately see that the biggest challenge
here is holding the thread in place for stitching, while trying to
keep the twist and prevent fraying of the top threads.