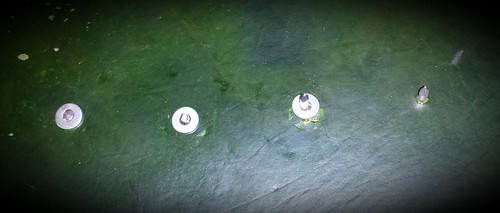
The sequence is from right to left for no reason other than that is the angle that I took the picture.
- First make a hole an pop the nail through.
- Slide the washer over the nail. The tighter the fit on the washer, the less rattling around and jumping you get. This washer is probably too loose, but it's what I had on hand.
- Clip the nail fairly close to the washer. You don't want it flush, since you need some metal to spread out for the rivet. I've got some handy metal shears for this that work well and help you develop your forearm strength.
- Hammer down the nail into a nice rivet. You can use the flat part of the hammer to spread the metal and the rounded part to shape it into a nice even dome.
1 comment:
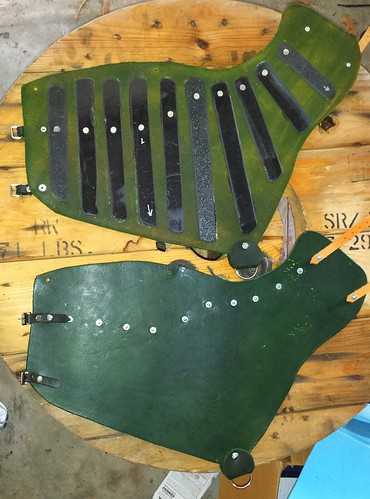
Yay leg armor!
Post a Comment